Saturday, January 19, 2013

Thankful

Today our project is a thank you note. 

 We are going to use white and purple cardstock paper. An embossing folder and a cutting die, and purple pearls gemstones.
We cut the white cardstock paper 8" x 12" to make a 4"x6" card


The purple cardstock paper will be 0.2 inches smaller than the card.

The embossed paper will  be 0.2 inches smaller than the purple paper.


Both corner embossing folder and "thanks" cutting die are from Sizzix.

After pasting the layers of paper, use small 3D dots to glue the word thanks on the card. Then add the embellishment. And you have made another beautiful card. Congratulations!!!


Vanias Reed


Masculine

How about making a card using tissue paper?  


1. Use a white or black cardstock - 12"x 8" - folded.
2. Cut a piece of white tissue paper 0.2" shorter on each side and fold it too. You want to use double paper because tissue paper is so thin, and be very careful as you cut it because it is very slippery as well.
3. Notice the lines on the paper. You are going to accordion fold it in the middle on both sides, two times. The center will be about 1/2in wide, and the folded sides about 0.2in.
4. Use a thin ribbon for the bow tie. I used blue, you can use black or red if you prefer.

 5. Punch four circles from a black cardstock paper for the buttons.

 6. Cut a piece of white cardstock paper 1/2 inch wide and about 3 inches long.


Punch the edges with a 1" square punch

To have the edges like this


 7.  Stamp the sentiment on the white strip of paper

8. Cut a piece of black cardstock - 5"8' long and 3"5" wide. Paste the strip of white paper on it.
9. Now carefully paste the tissue paper on the card, the buttons, the collar (two triangles about 1in long and a bit more than half an inch wide on the top)  and the bow tie on the tissue paper. Paste the black piece of black cardstock paper at the bottom of the tissue paper.
10. Don't forget the detail inside. I used a couple of stickers.

11. Voila! Your card is ready.

Now all you have to do is write a beautiful message to that special man in your life. 
Vanias Reed     


Friday, January 18, 2013

Cute and easy project

 Our first project is a card that can be made by anyone because you won't need an embossing/cutting machine.

 You will  basically need the tools and material in the picture.
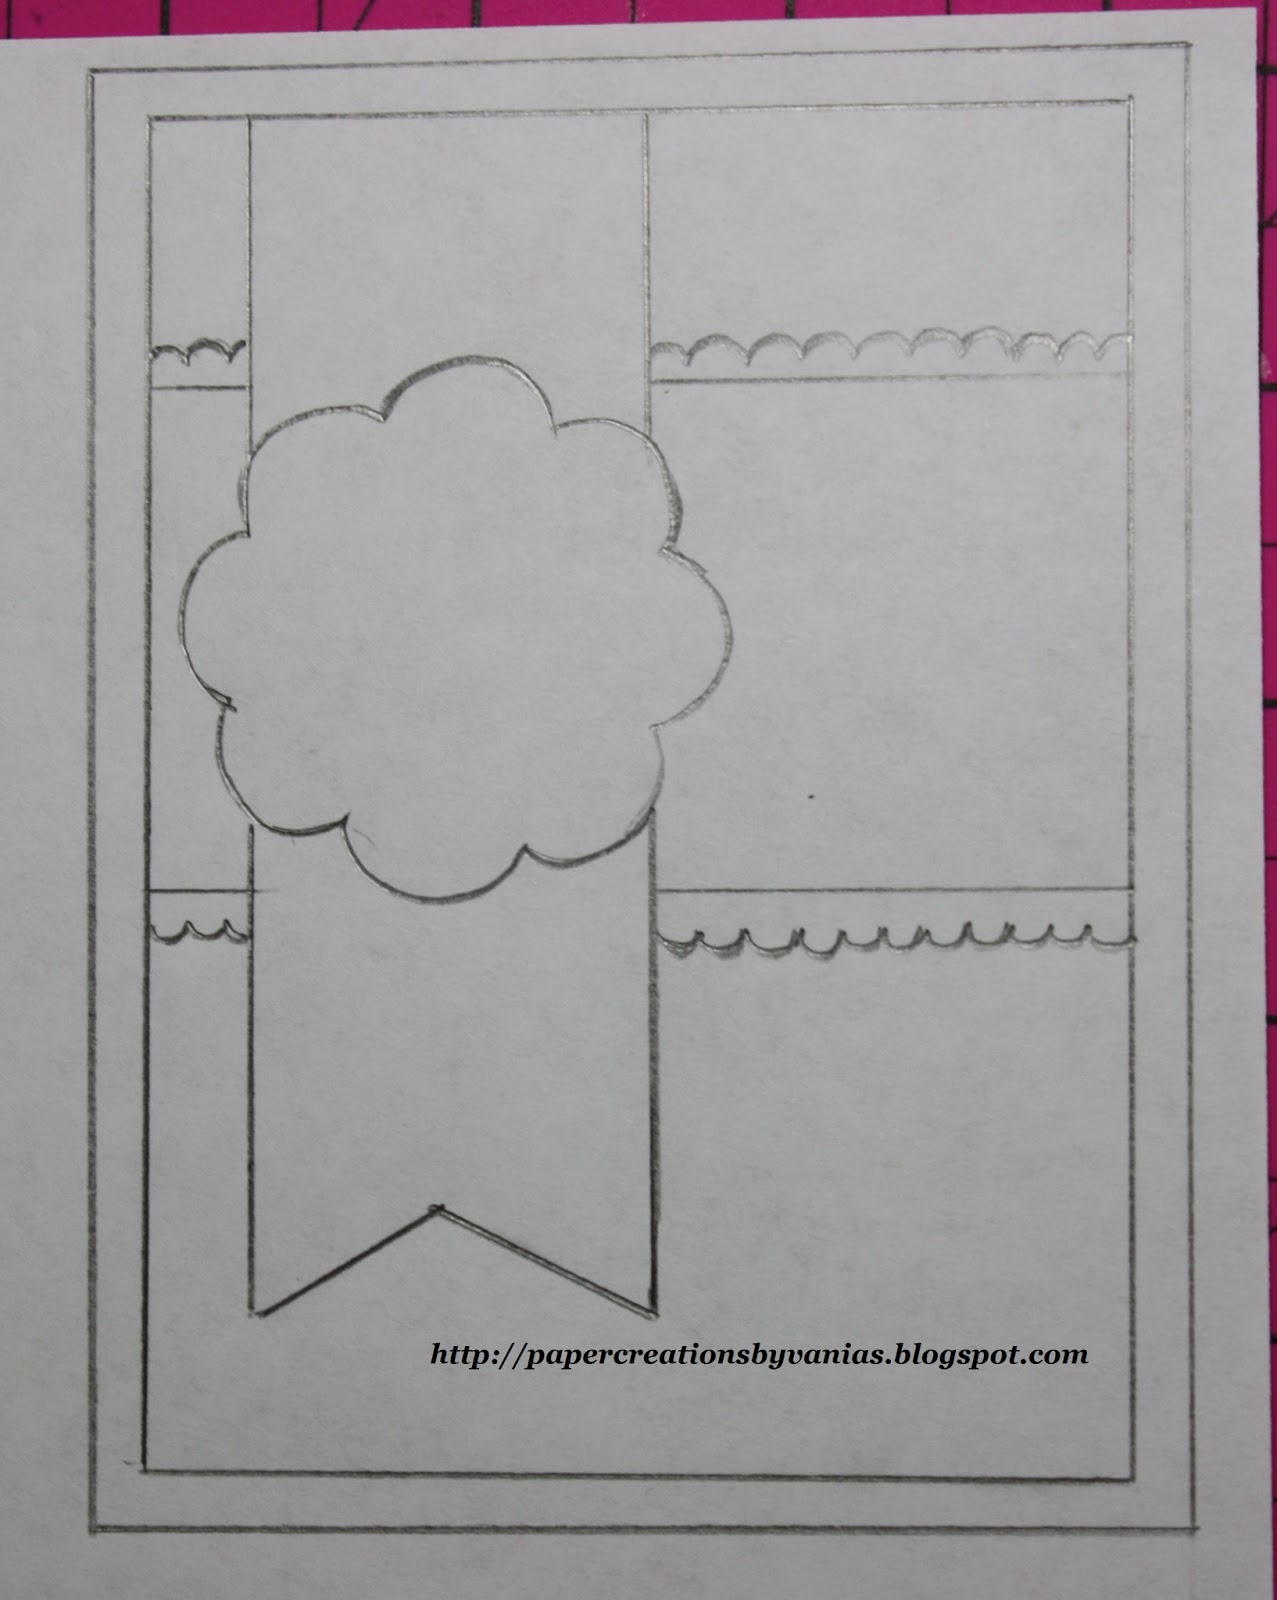
 1. Always sketch your project first. It will give you an idea of proportions, what tools you will need, etc.
2. Cut white cardstock paper in a 8" by 12" rectangle and fold in the middle.
3. Cut a piece of dark color cardstock paper  5"x 3 3/4 "- here I used a dark pink 
4. Cut a rectangle from a  light color cardstock paper 2.5"x 3 3/4 " - I used light pink and scissors that cut in waves.
4. Cut another rectangle from the dark color cardstock paper - 2"x 3 3/4"
5. Use a 4.5" ribbon - I used a very light, transparent pink one. * Pay ATTENTION to instructions #8 before you glue the big rectangle on the white cardstock paper.
6. Add the flower and the white circle (see how to make the flower at the bottom of these instructions)
 7. Add sentiment or a sticker on the flower.


8. Fold and paste the top of the ribbon behind the bigger dark color cardstock paper before you paste it on the white card.  Now paste everything else in the sequence above.
  
9. Add sentiment at the bottom of card,  if your choice was the sticker.


CONGRATULATIONS! You just made your first card!!!!
Don't forget to add a detail inside.


The flower
1. Cut a piece of paper in a 3"x3" square
2. Fold the square in half and then in half again.

3. Fold it in a triangle
4. Measure 1" from the end to the top and draw a semi-circle
5. Cut on the semi-circle line


6. Open the flower 
Now you have a pattern to trace on cardstock paper and cut using fine point scissors.

I hope you enjoyed our first project. 

Vanias Reed :)


Tuesday, January 15, 2013

Helpful Tips


Before we start making cards, tags, gifts, etc, I would like to share some tips that were shared with me when I started scrapbooking a few years ago.
1. Don't buy stickers, or any material just because they look cute. You will be spending a lot of money on things you won't use.
2. Start slow and simple. There are a many choices out there on what to use on a scrapbook page, and that can be a bit overwhelming. So, before you start buying, and buying, and buying... make a list to see what you need. Look for clearence, sales, and COUPONS!!! 
3. Sign up to receive Hobby Lobby and Michaels emails, or the email of the craft store near your home. They will send you coupons. Why pay $120.oo for a cutting/embossing machine, when you can pay half of that? Why not buy two embossing folders for the price of one?
4. Always check your craft store sales first. DO NOT buy anything on Ebay or Amazon unless the price is much better, and  the seller's feedback is at least 99.8 POSITIVE.
5. Stock up what you know you WILL USE more than once.
6. Look for items in your home. You will be amazed with the amount of different material you can use that you ALREADY HAVE! Such items can be well-used dryer sheets, grocery- store paper bags, fabric, ribbons, laces, etc, etc, etc.
7. Remember, creating something to give to that special someone is about doing what you like, enjoying the process, thinking of another human being, and having fun, fun, fun.

I hope these tips were helpful to you as much as they have been to me.
Feel free to ask any questions.
And thank you for stopping by,
Vanias.
Follow me at www.pinterest.com

Monday, January 14, 2013

New Beginnings

Hi, my name is Vanias. I am originally from Brazil, but have lived in America for a little over ten years now because I'm married to a wonderful American man from Michigan. Beautiful Michigan. I love this country, its people and culture. There are so many interesting cultural differences between the USA and my country, but there are also many things that are exactly the same. For instance, making a new year's resolution. Americans and Brazilians do that, but why? What is it about the beginning of the year that makes us all enjoy it? I think that it is the idea of starting fresh, the idea of a new beginning, a second chance for many. That thought that keeps coming back, " This year things will be different. I'm going to (blank) more, or I'm going to (blank) less, etc. Did you make a new year's resolution? I didn't, I never do. And yet I too have the need to do something different. That's how the idea of sharing my thoughts and creations was born. Creating a blog is definitely something new for me. It is very exciting and scary, like any new beginning. So here I am writing my first post to my brand new blog. Soon I will be sharing some ideas on how to make things out of paper and how to wrap gifts in different and creative ways. But for now, just this short introduction. Hopefully it is the start of something that both you and I will enjoy a lot.